
How to Improve Zoom Video Quality: 4 Simple Methods
Listen to this article
Key takeaways:
- Zoom video recordings are limited to 720p on most paid and free plans, and up to 1080p on Business and Enterprise plans.
- You can improve Zoom video quality by enabling HD recording in Zoom’s settings.
- A better camera and lighting can also make your video look more crisp.
- With high-quality video recording software like Riverside, you can record in up to 4K.
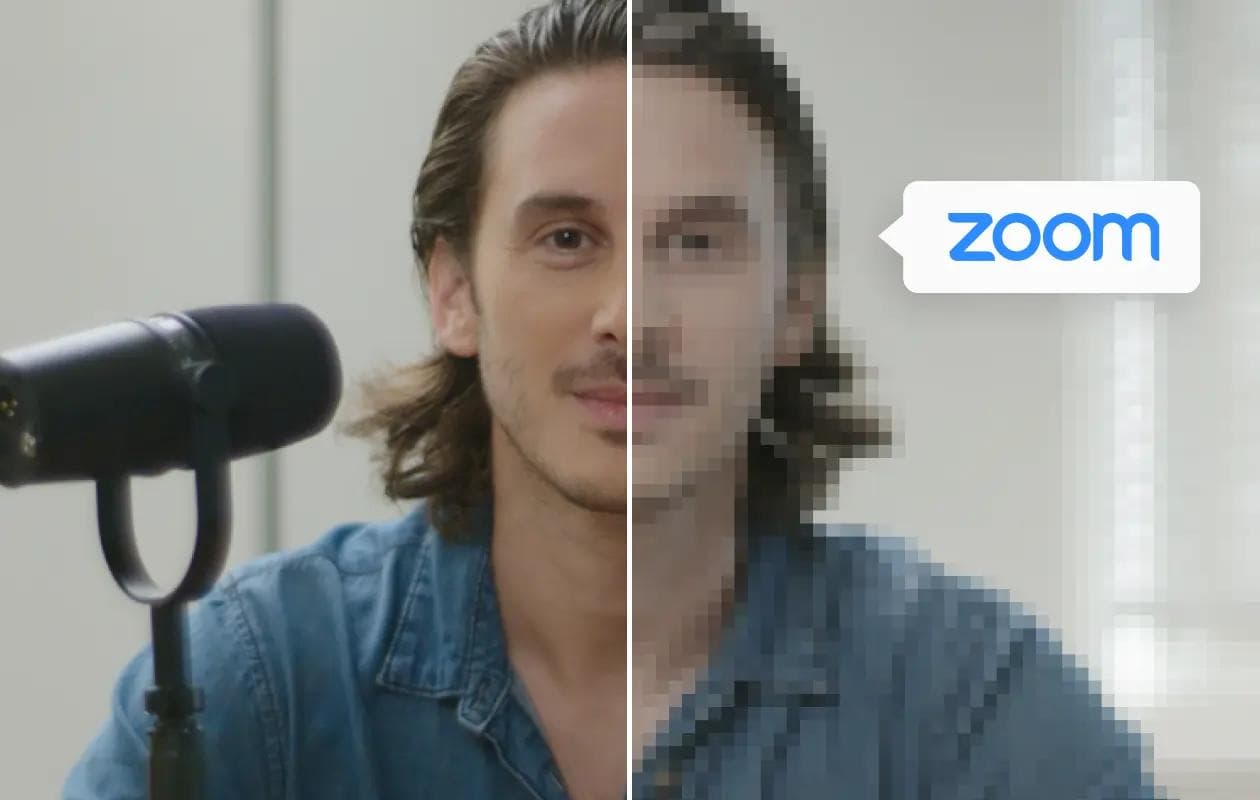
Tired of blurry Zoom video recordings? You’re not alone. It’s possible to get higher quality records in Zoom, but it does take a little setup and know-how.
In this guide, we’ll show you how to improve your Zoom video quality, as well as some other tools you can use for high-quality video recording.
Let’s do this!
How to increase Zoom meeting video quality: 4 ways
Ready for higher-quality Zoom recordings? Here are 4 things to try.
1. Get your setup right
No matter what platform you’re using to record, the first thing you can do to improve video quality is put together a decent setup. You don’t need a professional studio, but we do recommend:
- A decent camera: A webcam works, but choose one that records in at least 1080p (Zoom’s max resolution). A 4K webcam can further enhance your video thanks to larger sensors and improved low-light performance. See our picks for the best webcams to learn more.
- Proper lighting: Good lighting makes your video look instantly sharper. Face a soft, diffused light source. A window can work, but a ring light or simple 3-point setup is more reliable. See our guide to video lighting for more tips.
- A dedicated microphone: For clear, professional sound, use a USB microphone instead of your webcam’s built-in mic.
- A clean backdrop: A tidy background with no distractions won’t improve video resolution, but it will make your video look better. Avoid virtual backgrounds as these can degrade performance, leading to lower quality video in Zoom.
2. Enable HD recording in Zoom
If you’re on a paid Zoom plan, you can enable HD recording for higher resolution.
- By default, most Zoom meetings record at 720p.
- Business and Enterprise plans allow 1080p recording, Zoom’s highest available resolution.
To enable 720p or 1080p HD, follow these steps:
Step 1: Opt for HD recording
Log into the Zoom web portal and go to “My Account > Settings” in the left-hand menu. Next, select the “Meeting” tab.
Zoom
Select the “In Meeting (Advanced)” submenu and then scroll all the way down to the setting called “Meeting-HD Video Quality.” Select 720p or 1080p video.
Note: The options available here depend on your Zoom plan.
Step 2: Opt to record locally
Zoom supports 1080p resolution only when recording locally (to your computer). Even 720p is generally more reliable when saved locally rather than to the cloud.
To enable local recording, log into the Zoom web portal and go to “My Account > Settings,” then “Recording.” Enable “Record to computer files.”
Step 3: Contact Zoom (for paid plan support)
Zoom doesn’t always enable HD recording by default. If you don’t see the option for 720p (Pro plan) or 1080p (Business/Enterprise plan), contact Zoom Support and submit a technical request.
Let the help team know your plan type and that HD recording isn’t available in your settings. Oftentimes, Zoom can enable it within a few hours.
Read: How to Record Zoom Meetings
3. Preserve your camera’s native aspect ratio
Zoom’s “Maintain original ratio” setting prevents your camera feed from being stretched or artificially cropped to fit Zoom’s layout.
To enable it, open the Zoom desktop app (unlike the steps above, this setting is found in the desktop app, NOT the Zoom website), click your profile picture, and select “Settings,” then “Video & effects.” Ensure that “Original ratio” is selected.
Note: You’ll see an HD setting here too, but this one affects the live camera feed during your meetings, not your recording quality. Still, make sure it's toggled on.
4. Use high-quality recording software
Zoom is primarily designed for real-time communication, not recording. By choosing recording software like Riverside, you can get much higher quality recordings automatically.
Unlike Zoom, Riverside doesn’t heavily compress videos during recording. It captures video locally in up to 4K (and audio at 48kHz), delivering consistent, professional-quality results every time you record. That means even if someone’s connection is unstable, the final recording stays sharp.
You also get:
- Separate tracks: Separate audio, video, and screen share tracks for every participant make it easier to edit your recording. (Zoom only provides individual audio tracks.)
- Progressive uploads: Files upload to the cloud as you record, ensuring they’re safe and ready right after your session. (Zoom makes you wait.)
- Easy guest invites: Guests can join your video from their browsers by clicking a link, no downloads necessary.
- Scheduling: Riverside integrates with calendars, ensuring everyone makes it to the meeting.
- Layouts: Pick grid, speaker view, or dynamic layouts that switch focus with the conversation. (Zoom only provides a couple of static layouts.)
- Full editing capabilities: Use an AI-powered editing suite to polish your video, and add captions, music, and B-roll. (Zoom only lets you trim your video.)
Never miss another article
Highly curated content, case studies, Magentic updates, and more.